3D Modeling…um..What Is It You Do Again??
Sometimes when I tell friends or clients that I do “3D modeling” or “3D animation,” I get a blank look. They get that it has something to do with computers, but don’t get exactly what it is or what it is used for. So I thought I’d write something on the subject that, hopefully, will simplify what it’s all about.
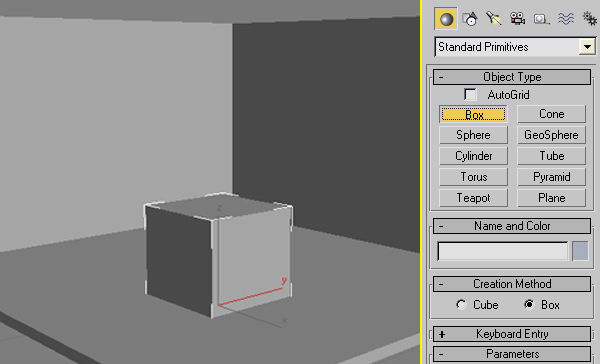
Basically 3D modeling software (such as 3D Studio Max, Maya, Cinema 4D and many others) enables you to create 3-dimensional objects on a flat computer screen. If you look at this image
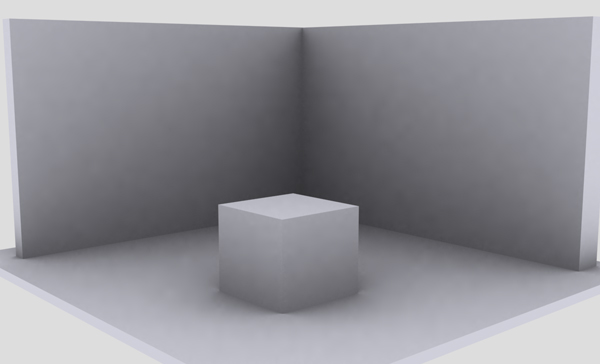
you’ll see that I have created a 3-dimensional cube on the flat screen. I have defined its length, width and height. You can rotate the object and look at the back of it. It looks solid. I can now tell the program to render this image (generate a picture) and it will look like this:
Yep, there it is, a cube. Looks solid. Sits on a surface. And I’ve created a 3-dimensional object. I could print this picture out, post it on a website, or even create an animation where it rotates. That is the simplicity of computer generated imagery, or CGI. Even complex productions such as Hollywood special effects and computer animated films start with this basic idea.
Creating shapes
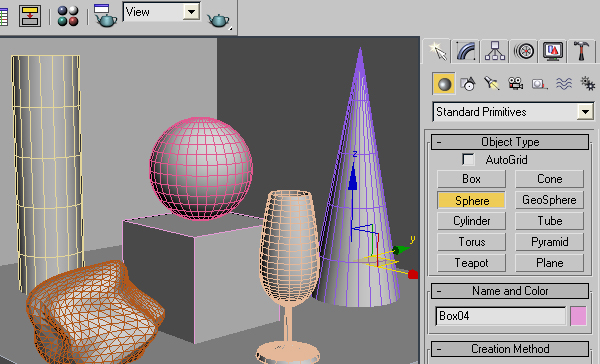
The first step in 3D modeling is creating the shapes. In addition to creating cubes, one can use the program to create many other geometric shapes
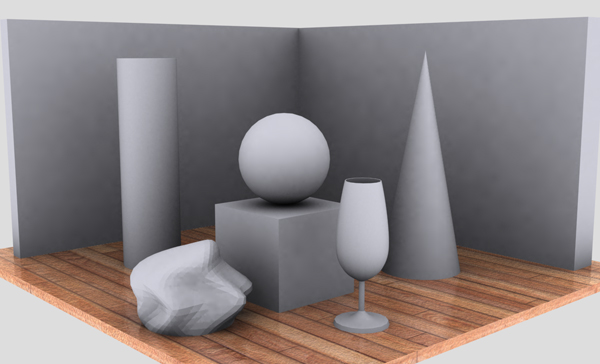
including cylinders, spheres, cones, tubes, pyramids, and many other shapes. You can create very complex shapes using the tools of the 3D modeling software, including lathed objects, freeform objects, hollow objects, you name it. In fact, once you get familiar with the tools, you can create any shape there is – up to and including automobiles, buildings and animated characters.
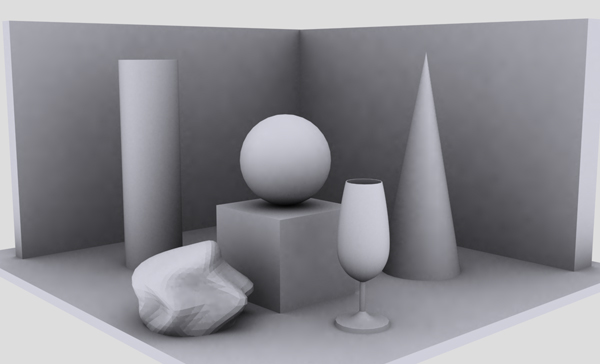
If we tell the program to render the above objects, we get this:
You can see they look just as solid as our cube.
The next step – textures
Once you have created your shapes using the 3D modeling software, the next step is to apply textures, or materials, to the shapes. A texture is the surface appearance of the object.
A cube, for instance, could look like it is made out of metal, wood, concrete or plastic. This depends on which texture you apply to the object.
Many textures are made from photographs; a brick texture, for instance, is normally created from a photograph of a brick wall.
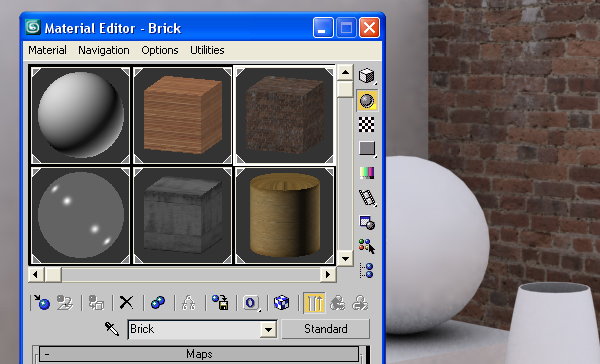
You can add to the appearance of a texture with other controls. You can make the material look shiny or dull, rough or smooth. Here I’ve given the floor the appearance of a wood floor (using a photograph of a wood floor) and added reflections to make it look like a waxed floor.
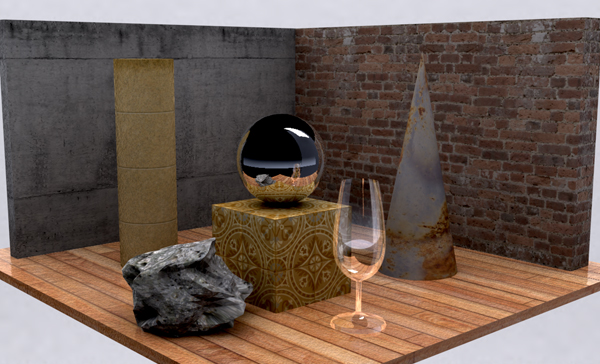
Now let’s give all of the other shapes their textures:
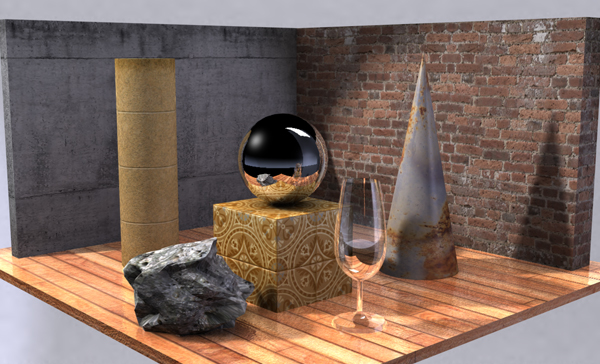
And here you see concrete, sandstone, rock, decorative tiles, chrome, glass, rusty metal and brick. You can see that these objects now look like they are made of different materials. You can see that the chrome texture is designed to reflect all of the other items in the scene. And you can see that objects are visible through the glass, which is now transparent.
Lighting
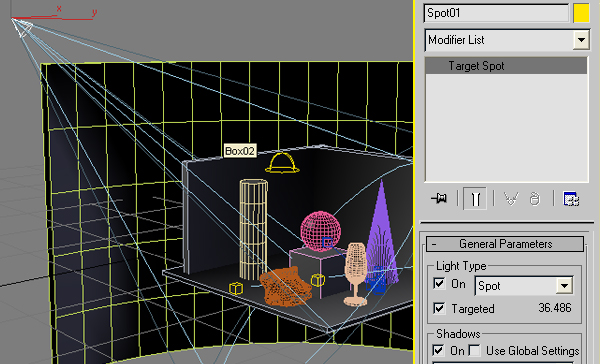
The last step in creating a 3D scene is lighting it. The program has virtual lights, which behave exactly like real lights. You can select spotlights, directional lights, and even sunlight. Here, we add a spotlight to the scene.
Now, when we render the scene, you can see that the lighting has added a lot of realism to the scene.
And that is the essence of modeling a 3D scene.
Once the scene is complete, it can be rendered from many different angles. You can even animate the scene by moving a camera through it. This can make your creative idea very real to potential clients or investors.
There are many ways to use 3D models and animation in your business. Read my article on how 3D modeling can improve your business.
Any questions? Have you ever used 3D modeling or animation to promote your products?


